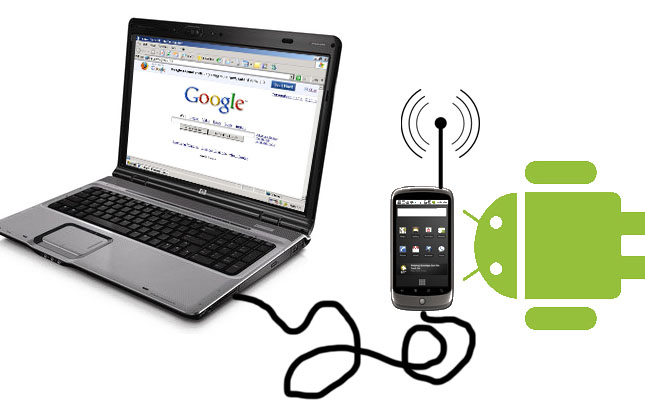
 USB Tethering pada Android biasanya digunakan untuk membuat smartphone Android kita menjadi seperti modem untuk koneksi ke internet. Pada hal ini merupakan kebalikanya, suplai koneksi internet disediakan oleh PC yang kemudian dipakai oleh Android. Hal ini sering saya gunakan, karena saya jarang sekali memakai paket internet untuk smartphone saya, daripada membuat tethering lewat WiFi dari laptop ke smartphone, saya lebih memilih metode ini karena juga bisa sambil charging dan smartphone tidak cepat panas dibanding ketika mengaktifkan koneksi WiFi.
Alat dan bahan yang dibutuhkan :
- Smartphone Android yang sudah di ROOT
- Terminal emulator
- Kabel USB
- BusyBox (optional)
Tutorial ini saya buat bagi pengguna Linux ya. Namun hal yang sama dapat dilakukan pada sistem operasi lainya, asal mengerti konsepnya.
- Device yang saya coba merupakan smartphone Android yang sudah Rooted. Kemudian aktifkan USB Tethering yang berada pada menu Settings pada bagian Tethering & portable hotspot yang jadi satu dengan konfigurasi WiFi Tethering. Aktifkan juga USB Debugging yang ada pada menu Development pada Settings. Pada umumnya, NetworkManager pada Linux akan mengenali device anda secara otomatis dan langsung terkoneksi.
- Langkah kedua adalah melakukan setting IP Address koneksi usb smartphone pada PC yang kita gunakan. Silahkan ketik manual pada terminal, jika anda tidak menggunakan NetworkManager. ifconfig usb0 10.42.0.1 netmask 255.255.255.0
- Aktifkan IP Forwarding pada PC, sudo 'echo 1 > /proc/sys/net/ipv4/ip_forward'
- Setting tabel IP rules, iptables -t nat -F dan iptables -t nat -A POSTROUTING -j MASQUERADE
- Masuk ke applet NetworkManager anda, dan buka konfigurasi pada bagian Wired, dan pilih adapter milik smartphone anda, bukan adapter LAN.
- Masuk ke bagian tab IPv4, dan ganti Method menjadi Shared to other computer dan klik Save.
- Sekarang pindah ke bagian smartphone anda !
- Buka terminal emulator ataupun sejenisnya, dan ketikkan su untuk masuk ke root
- Pastikan symbol $ berganti menjadi # yang artinya anda sudah masuk menjadi root
- Ketikkan netcfg usb0 dhcp, jika terjadi error, kemungkinan nama adapter salah, coba diganti rndis0 atau bisa dicek sendiri dengan mengetikkan busybox ifconfig.
- Cek dengan melakukan ping 8.8.8.8 apakah ada respon ? Jika ada maka anda sudah terkoneksi ke Internet. Selamat! Jika belum, lanjutkan ke langkah berikutnya.
- Jika belum terkoneksi, kemungkinan dhcpnya tidak berfungsi, maka harus melakukan routing secara manual. Ketikkan pada terminal smartphone anda, busybox route add default gw 10.42.0.1 dev rndis0 (rndis0 tergantung nama adapter anda)
- Coba lakukan PING kembali dan pastikan internet sudah terkoneksi.
Referensi XDA-developers
Good Luck !
Comments
Post a Comment